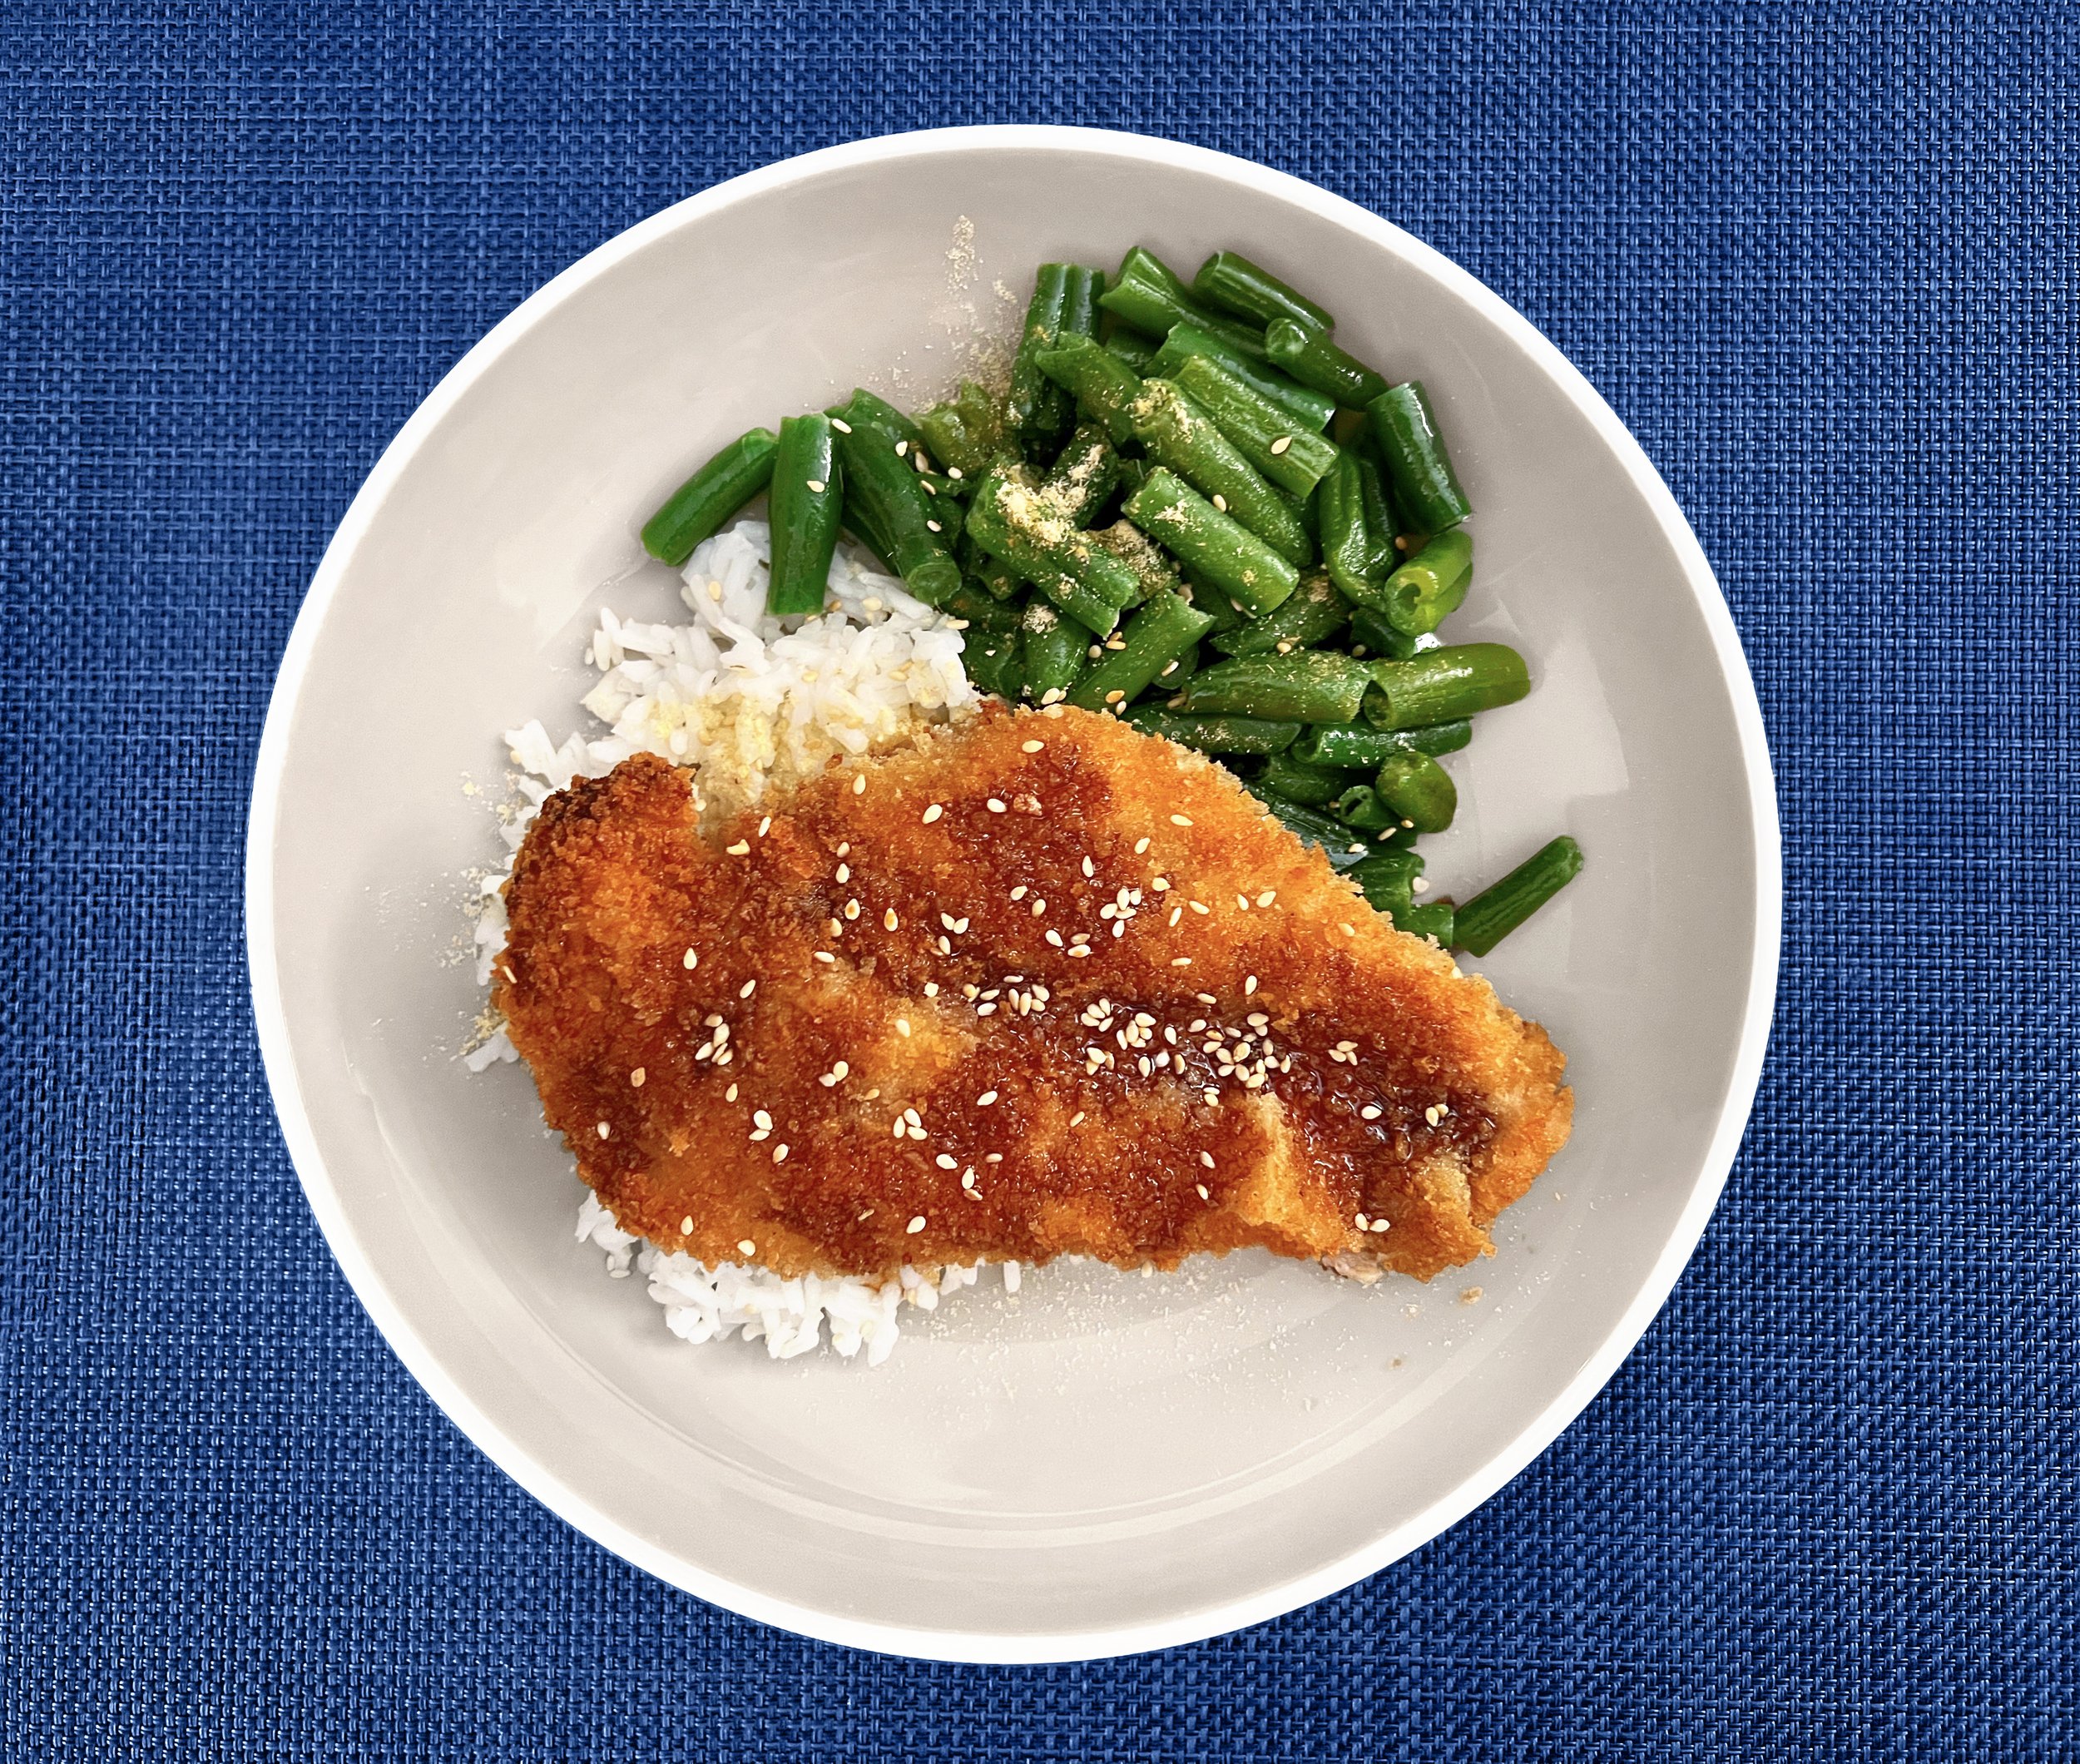
Chicken Katsu
It is said that during Japan's modernization period by Emperor Meiji, many restaurants were inspired to create westernized dishes. Many claim that in 1899, one restaurant in Ginza called Rengatei created Katsu or Torikatsu and changed not only Japanese cuisine but culinary history as we know it. Regardless of it’s origin, Katsu was influenced by the French dish côtelette de veau. However, rather than veal and stale breadcrumbs, the restaurant used pork and Japanese panko and implemented the traditional "tempura technique" by deep-frying the breaded cutlet in a pot full of hot oil instead of panfrying it. This yielded a delicious cutlet that was lighter and crispier.
Today the dish is a staple of Japanese cuisine and beloved around the world. The cutlet of meat is varied from pork and beef, to chicken and even tofu! This recipe is traditional, yet modern and uses chicken and Japanese panko, but rather than cooking in a pot of oil the breaded cutlet is pan fried in a perfectly nutty sesame oil. This gives the Katsu the same crispy light crust, with a healthier twist. Have a colorful day and enjoy!
-
Time:
Prep: 5min
Cook: 30min
Serving Size : 4
-
For Katsu and Sides
ground ginger seasoning
2 cups jasmine rice
8 oz green beans
10 ounce Chicken Cutlets (thin)
1 teaspoon garlic powder
½ cup panko breadcrumbs
1 tablespoon cornstarch
2 tablespoon sour cream
1 tablespoon sesame seeds
salt
pepper
umami seasoning
sesame oil
For Katsu Sauce
2 tablespoons white rice vinegar
1 tablespoon worcestershire sauce
3 teaspoons sesame oil
1 tablespoon ginger (ground or fresh grated)
3 cloves minced garlic
⅔ cups soy sauce
⅓ cup apple juice
1 tablespoon cornstarch
-
Nutrition per serving:
Calories, 613.81kcal, 31% DV
Total Fat, 12.03g, 17% DV
Carbs, 95.39g, 37% DV
Sugars, 4.92g, 5% DV
Protein, 28.2g, 56% DV
Fiber, 3.66g, 13% DV
Percent Daily Values based on a 2,000 calorie diet.
Health Score: 5.4/10
*Health Scores are calculated on a 1-10 scale based on nutrient density and USDA recommendations for a healthy diet. A higher Health Score means healthier food. The value based on impact of more than 28 nutrients.
Nutrients in this dish with a positive impact:
Unsaturated Fat, 8g, 16% DV
Fiber, 4g, 13% DV
Protein, 28g, 56% DV
Potassium, 666mg, 19% DV
Magnesium, 90mg, 24% DV
Iron, 3mg, 23% DV
For Katsu and Sides
Step 1
Wash and dry produce. Meanwhile, cook until rice in rice pot until tender, 15-18 minutes. Keep covered off heat until ready to serve.
Step 2
Meanwhile, make Katsu Sauce and set aside.
Step 3
Pat chicken dry with paper towels. Season all over.
Step 4
On a shallow dish or plate, combine panko, cornstarch, and ½ tsp salt. Brush a thin layer of sour cream onto both sides of chicken. Working one piece at a time, press chicken into panko mixture, coating all over.
Step 5
Heat a 1⁄3-inch layer of oil in a large, preferably nonstick, pan over medium-high heat. Once oil is hot enough that a pinch of panko sizzles when added to the pan, add chicken. Cook until panko is golden brown and chicken is cooked through, 2-3 minutes per side. Transfer to a paper-towel-lined plate.
Step 6
When chicken is almost done, cook green beans in a pan with sesame seeds, sesame oil, ginger, soy sauce and garlic. Set aside and keep warm.
Step 7
Fluff rice with a fork; stir in 1 TBSP butter and season with ginger and salt. Divide rice, chicken, and green beans between plates. Drizzle chicken with Katsu sauce to taste (or serve on the side for dipping). Sprinkle chicken and green beans with sesame seeds and serve.
For Katsu Sauce (Makes extra)
Step 1
In a small bowl mix together white rice vinegar, worcestershire sauce, sesame oil, seasoning, minced garlic and soy sauce.
Step 2
Simmer the mixture in a sauce pan until it begins to thicken.
Step 3
Meanwhile, apple juice and cornstarch together. Once the sauce in the pan begins to thicken, gently pour in the water and corn starch. Simmer until the sauce thickens a little more. (The sauce will continue to thicken as it cools.)
Step 4
When the sauce has reached a not too thick not too thin point remove the sauce pan from the heat. Pour the sauce into a small jar or bottle for storage and allow it to cool. Use it immediately or refrigerate for up to five days. The sauce will last in the freezer for 3-5 months.